Aquarium Cleaning 101
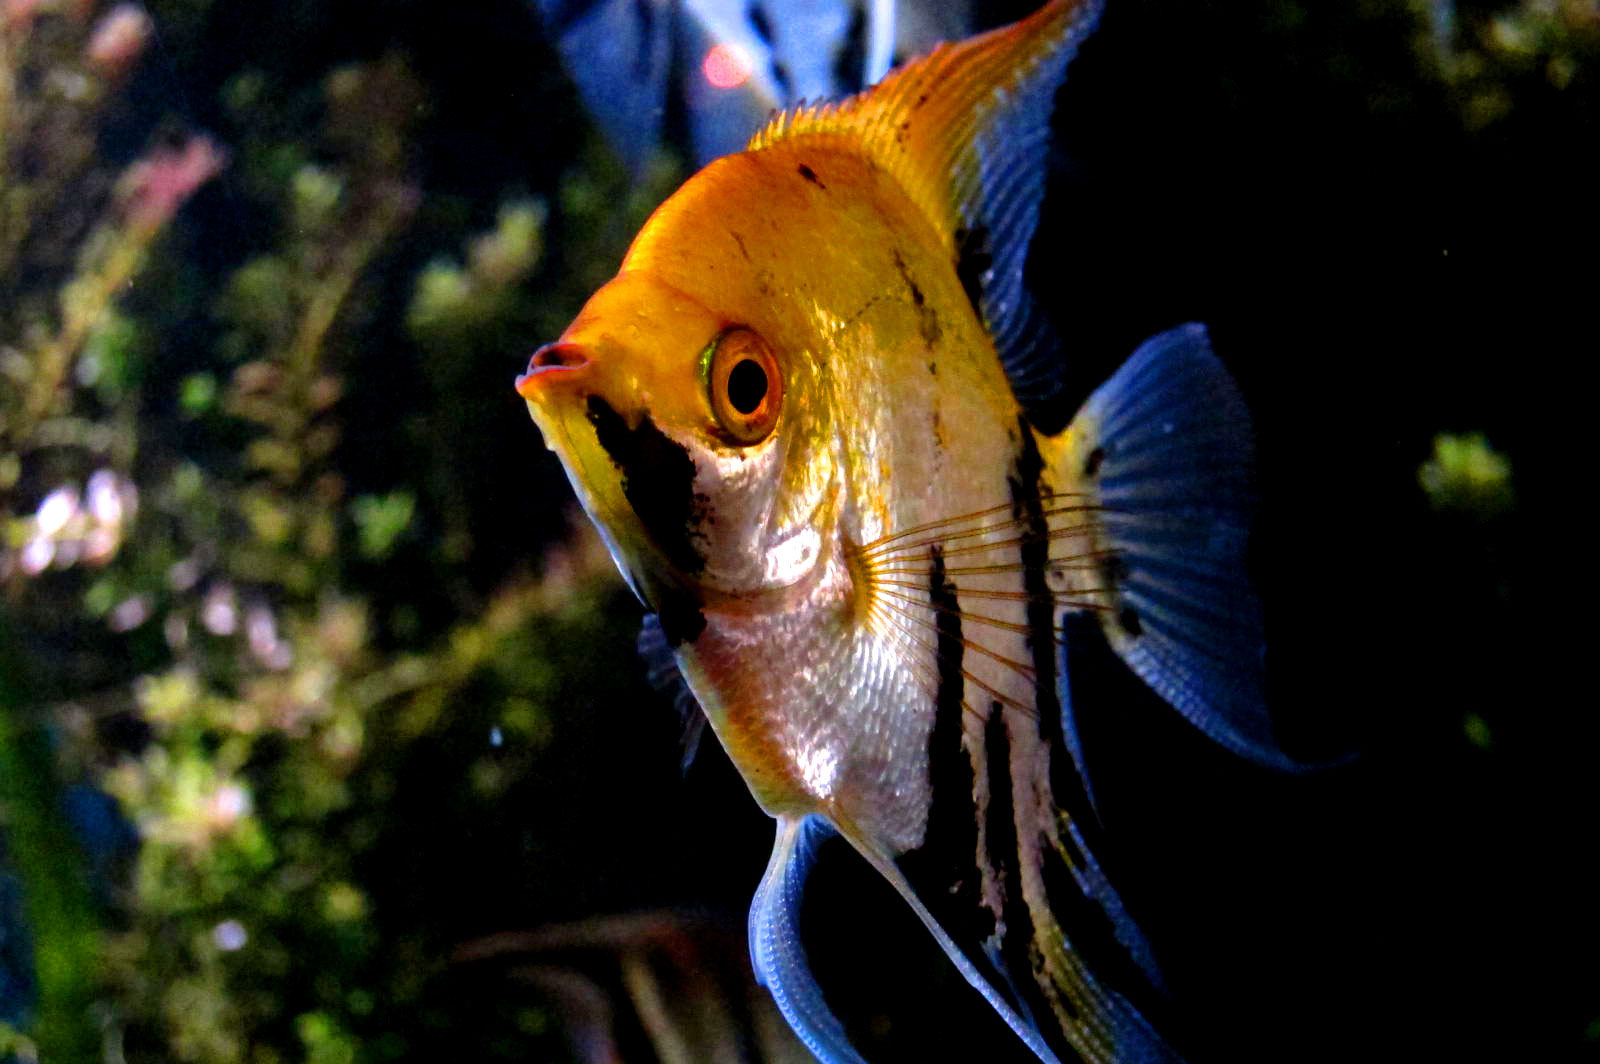
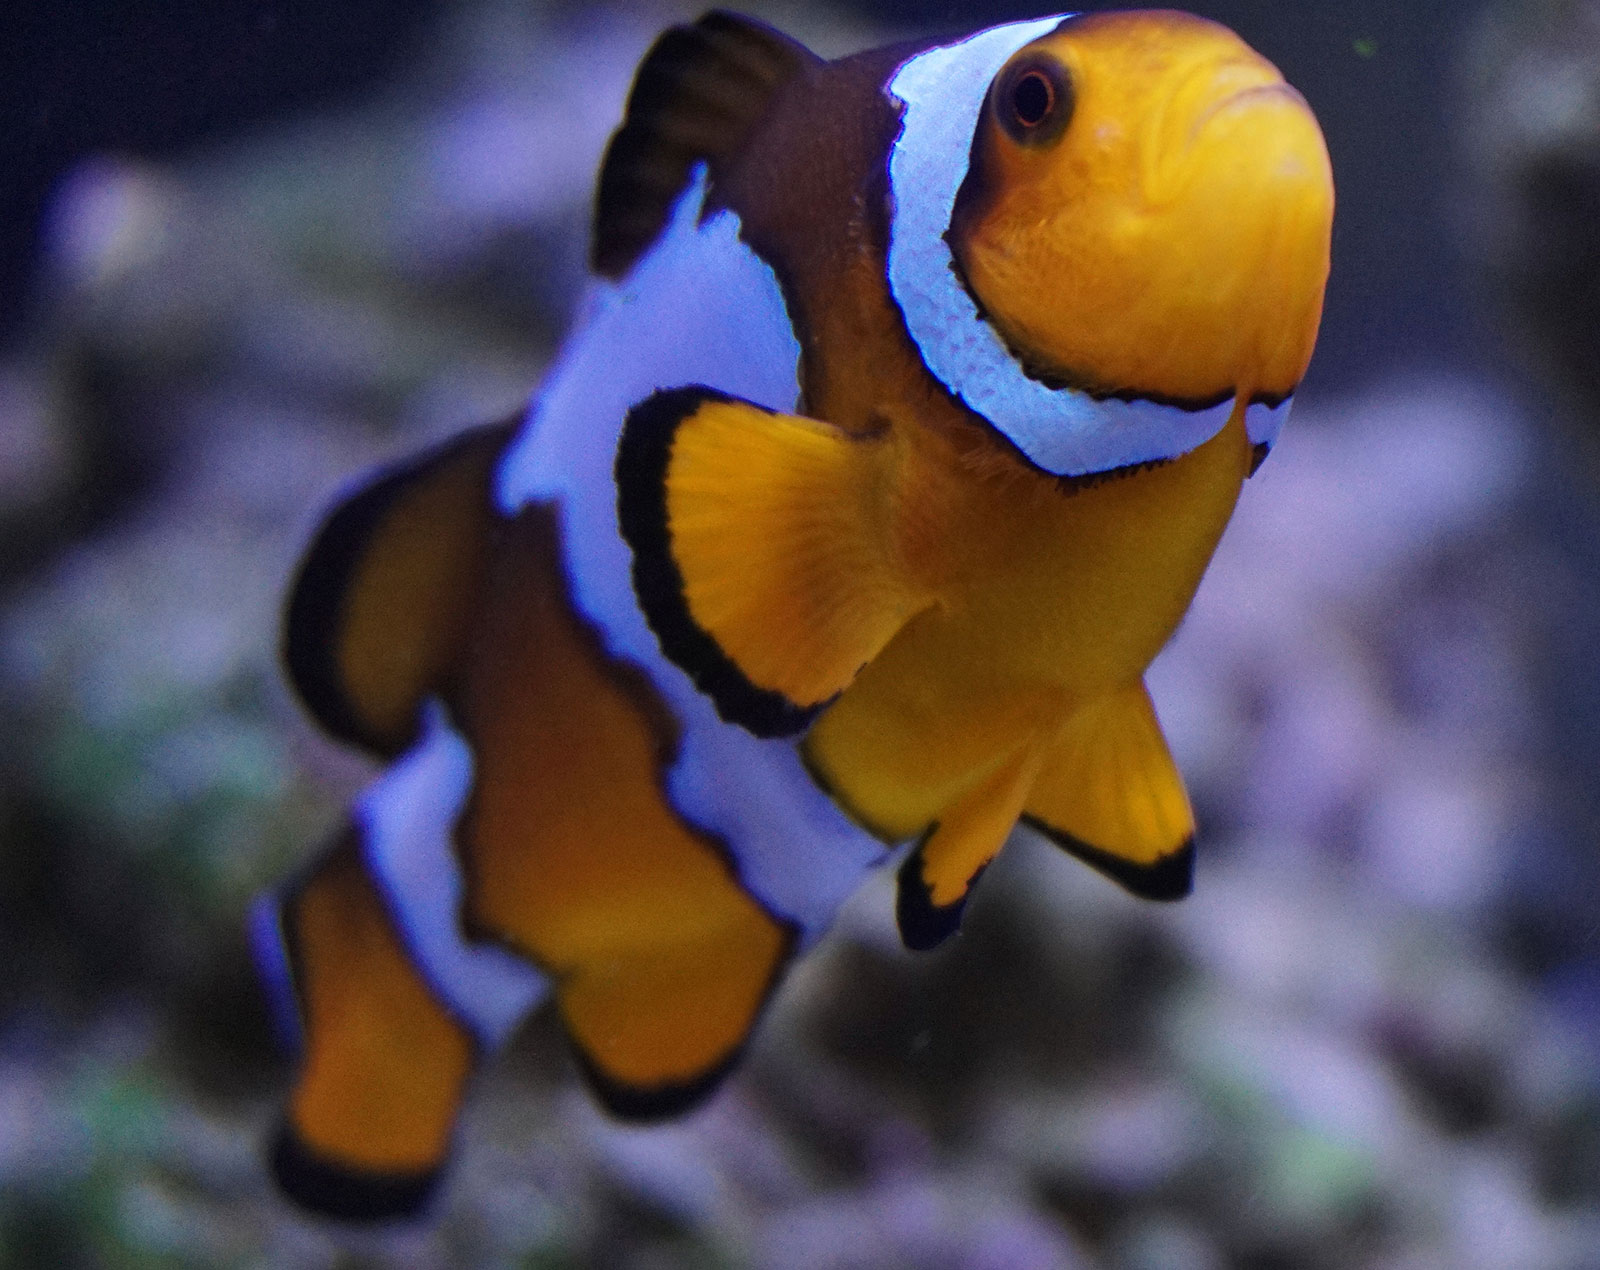
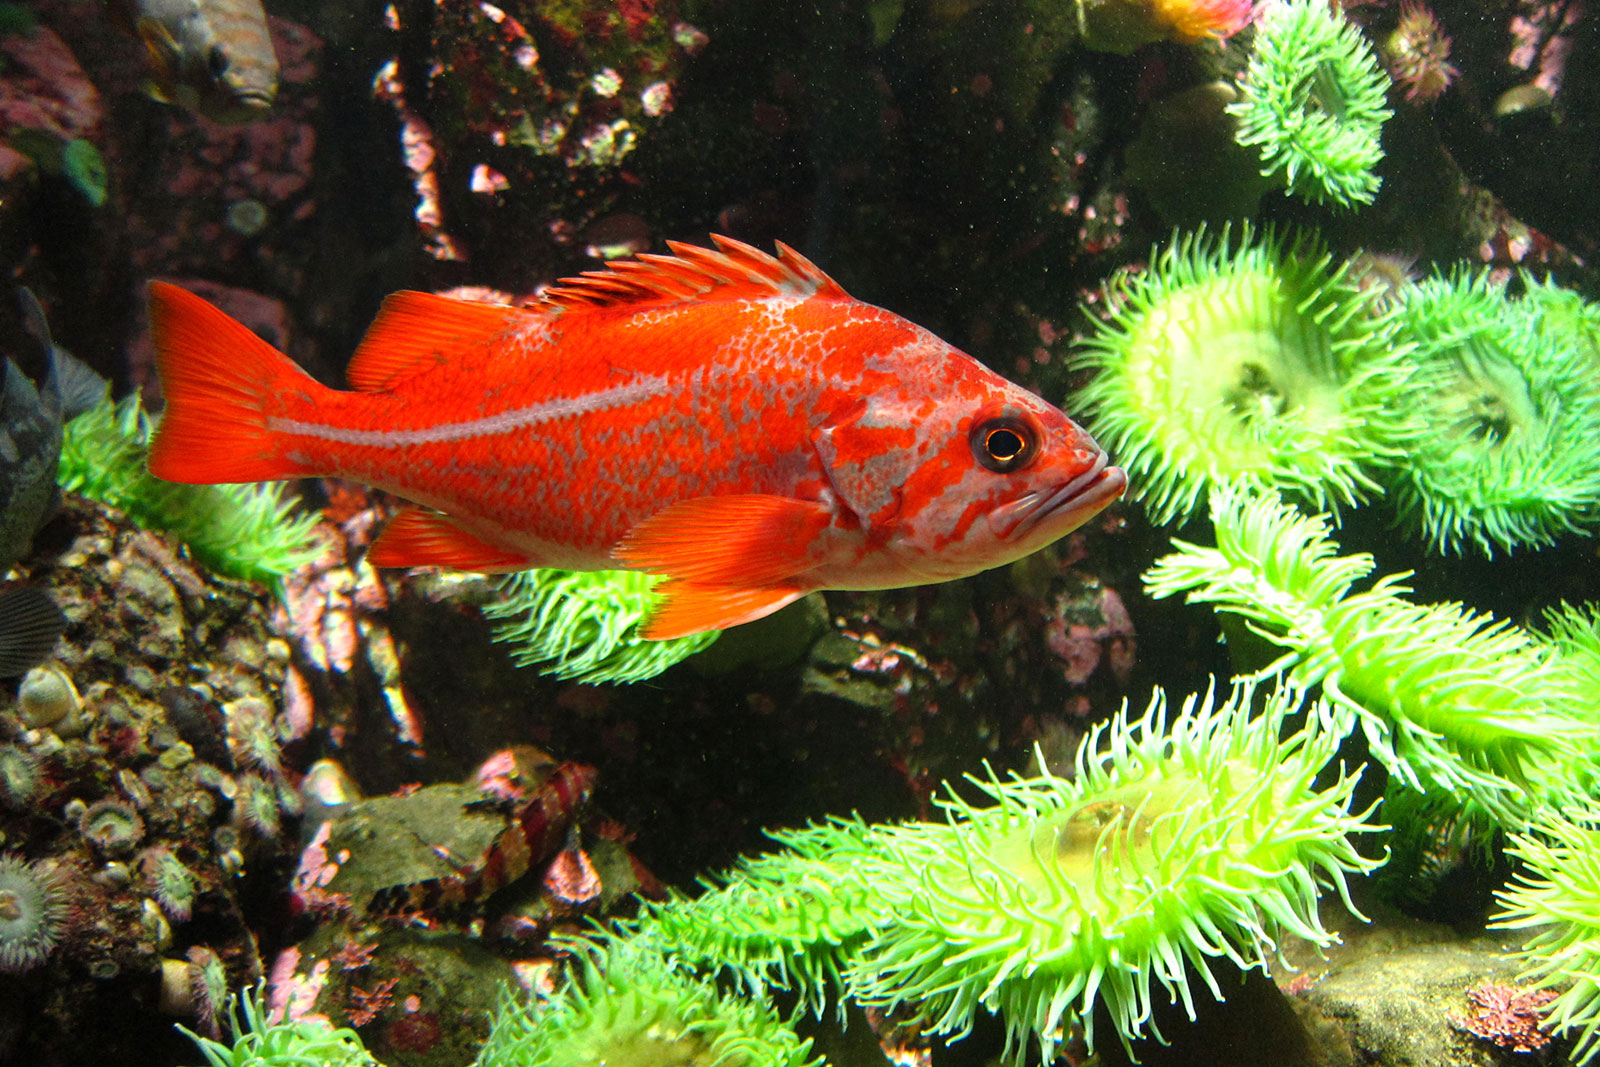
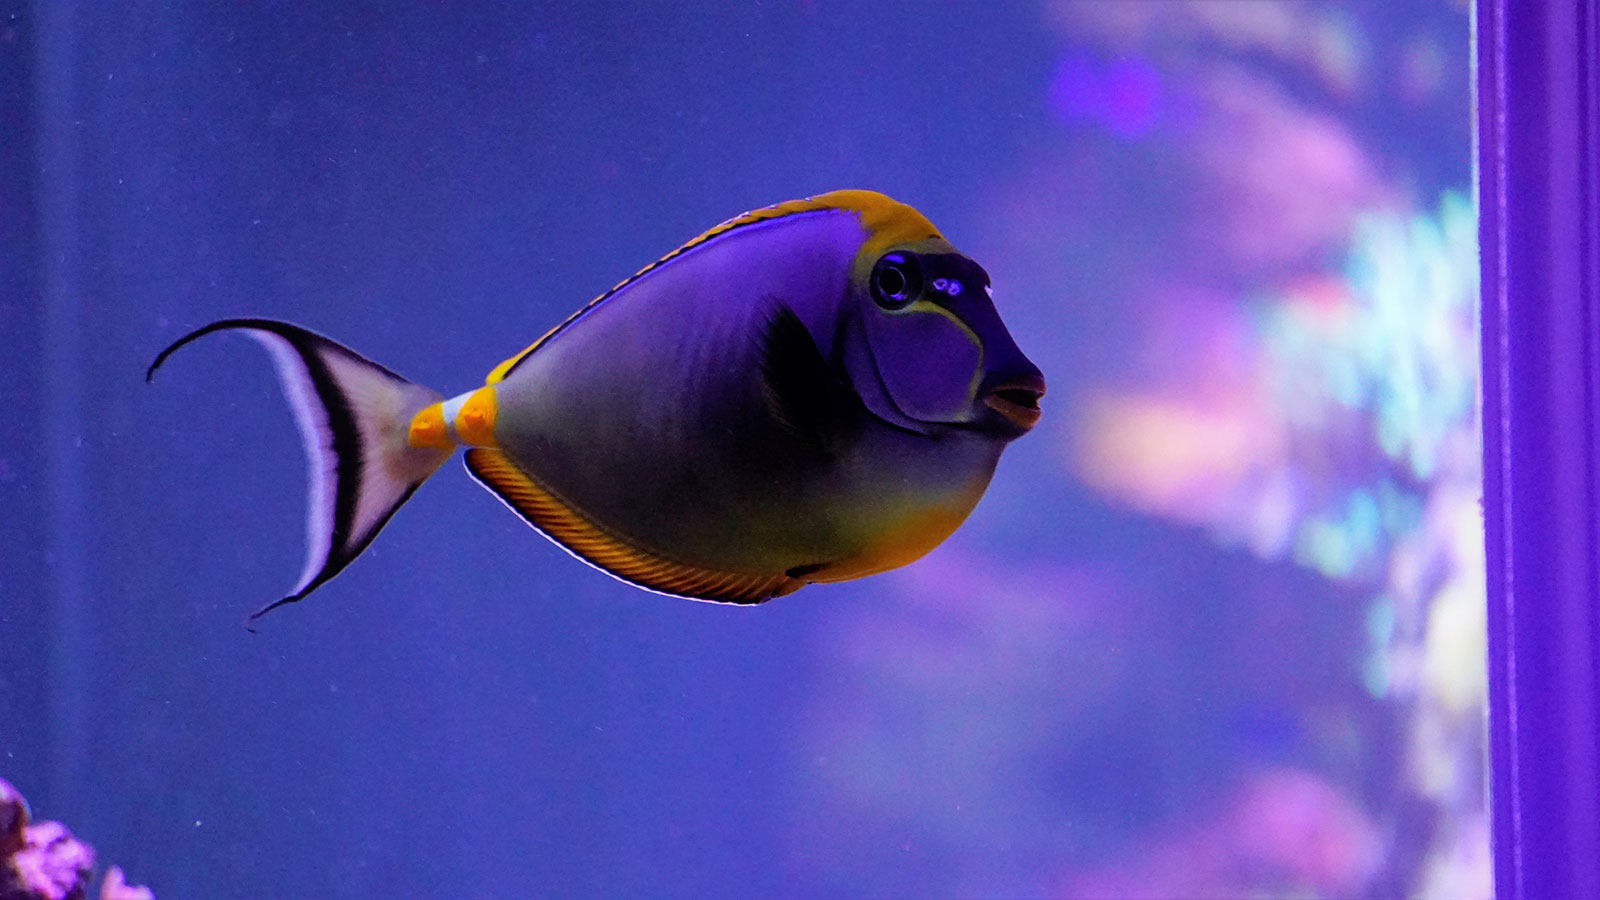
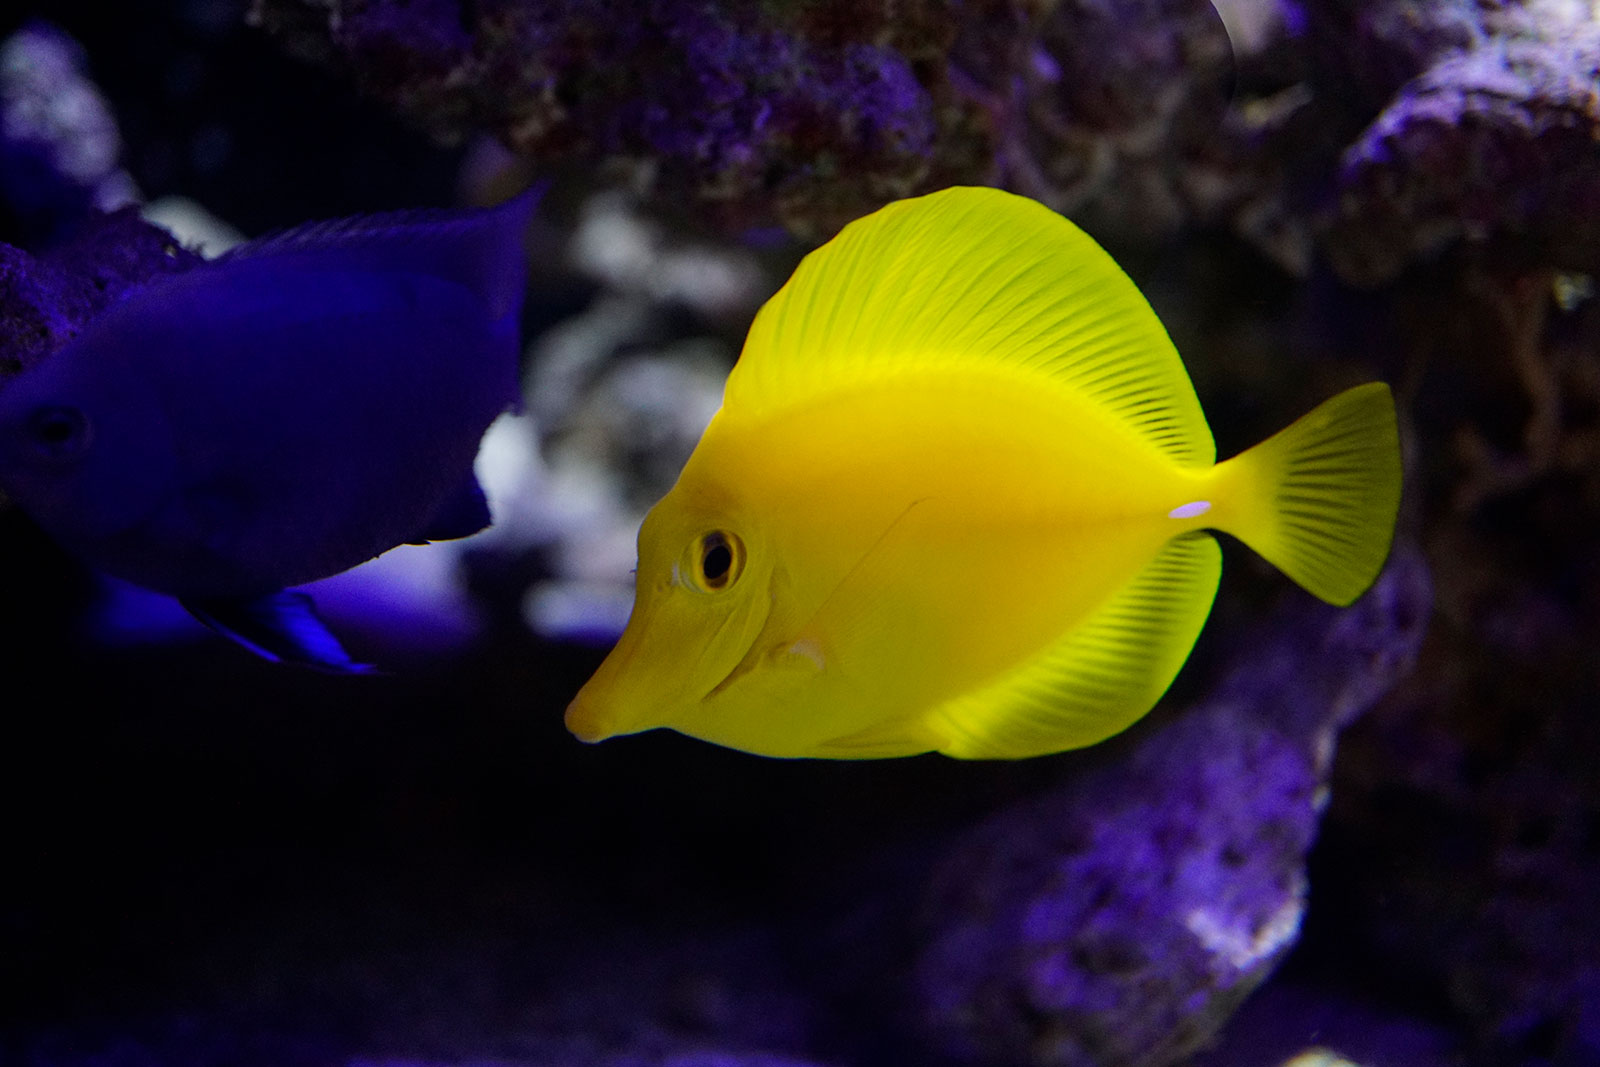
Just about everyone is drawn to an attractive, well-maintained aquarium teeming with healthy and active fishes and invertebrates swaying in the current. The beauty of a living aquatic system is one of the main reasons why people want them in their homes, offices, lobbies, waiting rooms, assisted living facilities and other locations. The color and motion of an aquarium draws eyes and captivates people in every setting, but behind that dazzling aquatic display is a fair amount of cleaning and routine maintenance that must be done on a regular basis to keep the tank looking great and the animals healthy. As aquarium maintenance professionals, we have a deep understanding of why this cleaning must be done and what can happen if routine maintenance is not performed. However, we also understand that some clients want to do some of this work themselves to save money and gain a better understanding of why and how this cleaning must be done. Because client education is foundational to our approach to customer service, here are some aquarium cleaning basics:
Algae Scrubbing
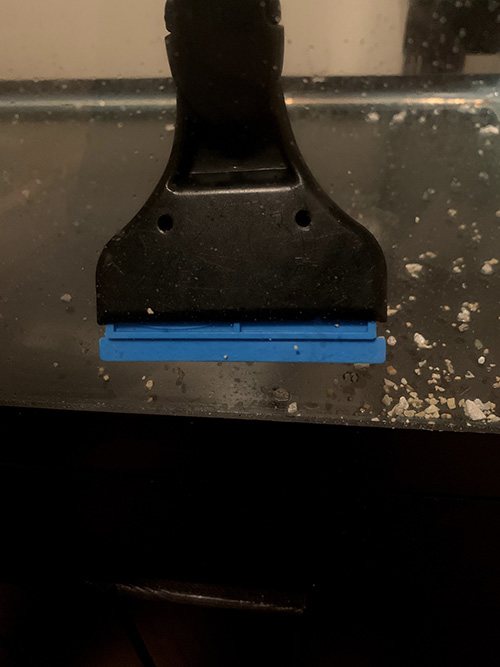
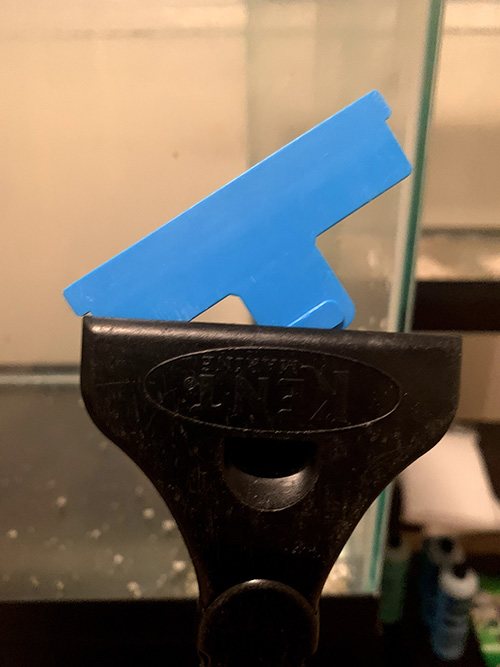 Scrubbing algae growing on the inside of your aquarium is one of the most common types of aquarium cleaning tasks and also one of the easiest – provided you do it on a regular basis and don’t let it get out of control. If you scrub the inside of the tank 2-3 times each week, it only takes a few minutes and is very easy to keep your fish tank looking great. If you procrastinate, it can become a tedious slog and suck a lot of the fun out of keeping aquatic animals. There is a wide range of different scrubbing tools out there for you to use but if you have an acrylic tank, you want to be very careful to only use scrubbers made for acrylic or you can scratch and cloud your display panels.
We use a variety of different scrubbers that depend on whether we’re scrubbing glass or acrylic, how deep the display is, how stubborn the algal growth is, etc. When in doubt, ask the owner or staff at your locally owned fish store about which scrubbing tools will be best for your tank.
- To begin, start in one of the upper corners with a hand scrubber and divide each area into zones. This will allow you to focus on one area at a time, resulting in more efficient coverage and less time spent going over the spots you missed. Move your scrubber up and down systematically and reach as deep into the display as practical, as you can cover a lot more ground more quickly with hand scrubbing.
- After finishing one area, move on to the next and focus on using all the scrubbing area that your tool provides. Everyone has their own technique but we usually start in the upper corner of the front panel and clean the upper half of one side before moving to the lower half. Once that quadrant is scrubbed, move to the upper corner on the other side and work towards the middle.
- Scrubbing near the substrate on the bottom must be done with great care, as it is easy to trap a small pebble or grain of sand with your scrubber and unknowingly scratch deep lines in your display. This is especially true of acrylic tanks. Before scrubbing near the bottom, we like to take some type of tool like an old credit card on a pole and gently move the substrate away from the panel before we start scrubbing.
- After finishing the front panel, move to each end and then partition and systematically scrub the back panel.
 Pro Tips
- Periodically check your scrubber for pebbles or grains of sand that may have gotten trapped. This is something to be very careful about, as it only takes one small, hard chunk to cut deep lines in your display. Don’t let this happen to your tank.
- It’s faster and easier to scrub algae if you do this while performing a water change. That way you can reach deeper into your tank with your arms and cover more area more quickly with a hand scrubber while the water level is lowered.
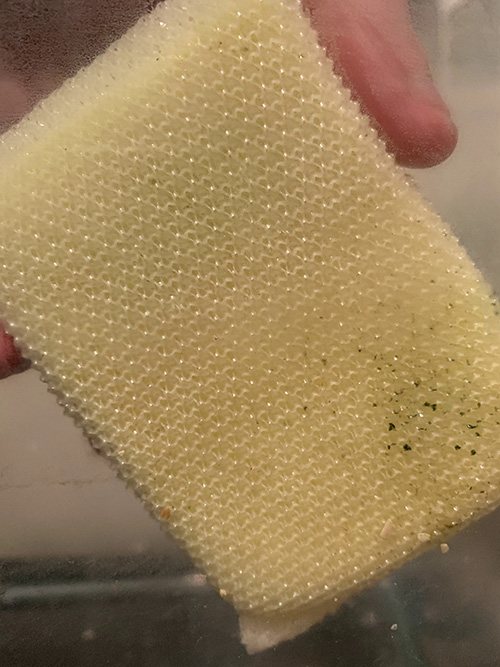
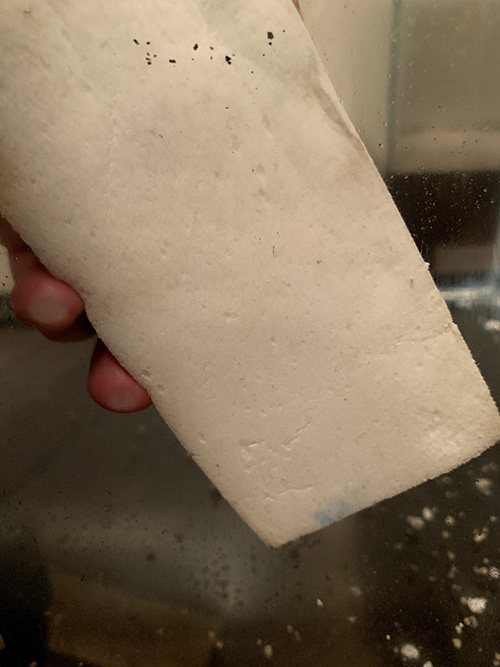
- We like to use the Dobie-type dishwashing scrubbers for hand scrubbing. The ones with a soft plastic mesh over a sponge. We also like Mr. Clean Magic Erasers as well. Just be sure that either product does not contain any added cleaning chemical or your livestock will be most unhappy.
- Only apply as much pressure as you need to remove the algae. Even soft scrubbers designed to clean acrylic can cloud the display if you’re not careful.
Water Changes and Gravel Vacuuming
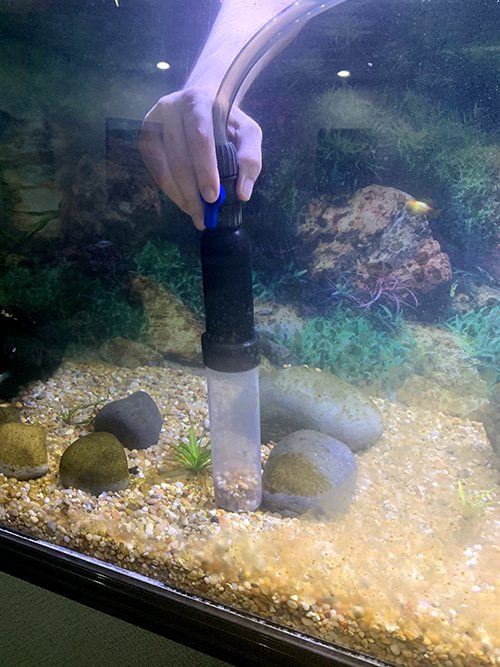 Performing regular water changes is one of the more effective ways to protect the health of the system and everything living in it. Indeed, it is helpful to regard your closed, recirculating aquatic life support system as a living organism because in many ways, it really is. Regular, proactive water changes help ensure that the water chemistry parameters in your system are optimal or near optimal, which has a huge impact on the health of your fish and invertebrates. Vacuuming the substrate while you’re performing the water change is a very efficient way to maintain a clean system and good water quality at the same time.
- Shut off any pumps or filters and heaters before starting your water change or they could run dry, which is very harmful for your equipment. Make sure that your gravel vacuuming tube is secured to the siphon hose and position the end of the siphon in a sink, bucket or other reservoir large enough to hold the water. To start the siphon, you can either immerse the entirety of the hose in the tank and place your thumb over the end of the hose or place a cloth over the end of the hose and suck on it to induce the siphon.
- With your main hand, move the gravel vac into the substrate and siphon the fish waste and uneaten food out of the system. With your offhand, you can pinch or release the siphon hose to control how powerfully you’re removing detritus from the substrate. Pay close attention to how much gravel you’re vacuuming at all times, as it’s easy to vacuum up the substrate, along with the funk! Too much substrate entering the hose at one time can also clog it and cause you to start over.
- Systematically vacuum each area of the substrate as you remove water from your system, taking extra care around plant roots, corals and definitely inquisitive fishes that have a tendency to get too close to your siphon as they investigate this new object in their environment. Depending on the size of your aquarium, you may need to focus on a different section of substrate with each water change.
Pro Tips
- Make sure you keep an eye on how much water you’re removing from the system and have enough makeup water ready that is conditioned and at the same temperature so you don’t remove too much while you’re focusing on cleaning.
- If a fish gets to close to your siphon or you vacuum up too much substrate, pinch the hose tightly with your offhand, lift the vacuum tube up out of the substrate and then gently relax your grip to restore flow. You don’t want to hoover up your prized $100 Anthias and injure it while doing a water change!
- After siphoning an area, leave the substrate with mounds of different sizes. This makes for a more natural-looking display and will settle out in time.
Filter Cleaning
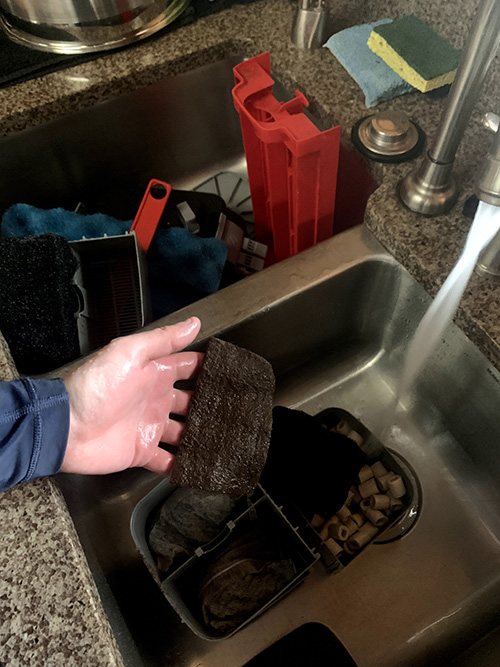 One of the most important parts of keeping a healthy system is regular cleaning and maintenance of your filtration. This is especially true of canister filters, which are usually kept in the cabinet under the aquarium and are very easy to forget about. Whether you have a canister filter, hang-on-the-back (HOB) filter or a sump with different compartments for different types of filtration, you will need to clean and maintain them on a regular basis for optimal performance and system health. How you clean your filters depends a great deal on how your system was plumbed and the type of filtration you chose at the beginning. How to clean and maintain canister and HOB filters will be included in the instructions. Make sure that you read and understand how each type of filter works before disassembling and cleaning it.
- Clean the at least a couple times each month. More often is even better. The mechanical filter is usually made of white or blue filter floss, which is the first stage of filtration and the filter that traps fish poop, uneaten food, dirt and other detritus. Keeping this filter clean on a regular basis allows the other types of filtration in your aquarium to work much more efficiently. Remove the filter floss and either rinse it in a bucket of system water or rinse it in a sink with cold running water until clean.
- Inspect any other filter media in your filter and ensure that it is not clogged with the gunk that wasn’t trapped by your mechanical filter floss. There may be a mesh bag of black activated carbon or small chunks of whitish material. These are different types of chemical filtration, which filter the water in much different ways that your filter floss. To clean these mesh bags of media, gently rinse them in a sink under cold running water or in a bucket of system water.
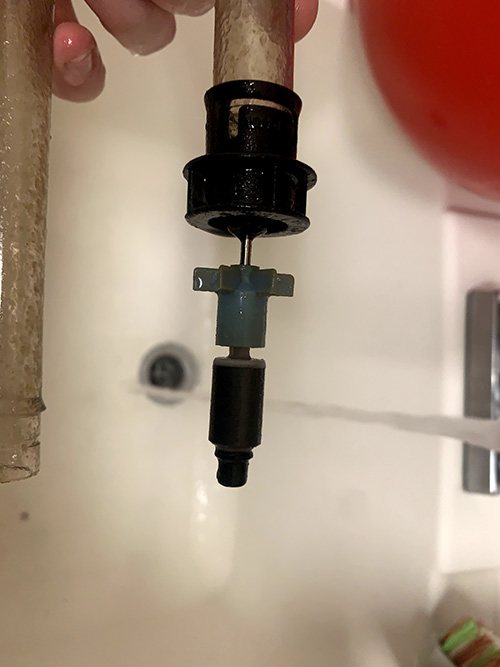
- At least once a month, remove the whole filter and carefully disassemble it on a counter, taking care to notice how the pieces fit together. Examine each piece for wear and carefully clean them with a soft toothbrush. Over time, a biological film begins to coat every surface that stays wet all the time. This is normal and healthy but unless these pieces are regularly cleaned, this film accumulates and can reduce the efficiency of your filter. Using your own system, clean each piece and then begin putting your filter back together.
- Cleaning the impeller. Somewhere in the bottom of your filter is a little plastic impeller mounted to a shaft and a cylindrical magnet. This is how water is pulled from your display tank, pushed through the different stages of filtration and returned to your display and you need to handle these pieces carefully. When you plug in the filter, the electricity passing through the wiring creates a magnetic field, which turns the magnet which, in turn, causes the impeller to spin. Usually, these impeller shafts fit onto a metal spindle but the shaft can also be ceramic and part of the shaft assembly. Either way, you need to handle and clean these pieces very carefully and put them together the same way you took them apart or the impeller can’t move water through your filter.
- Reassemble your filter, (you may need to prime it with water, depending on your instructions) put the hoses back in their proper places and plug it back in. Job well done!
Pro Tips
- Over time and with repeated washings, filter floss can break down. Inspect the floss with each cleaning and keep a spare or two on hand to swap in when your mechanical filter floss starts to get thin.
- Make sure to clean the inside of the pump housing where the impeller spins, too. The biofilm can build up and cause the impeller shaft to spin much more slowly over time or even stop.
- Arrange the cleaned filter parts on a towel and keep everything organized. If you misplace one part or lose it down the sink your filter probably will not work properly
- Keep a clipboard somewhere and chart how often you perform regular maintenance like filter cleaning. People are busy. Days become weeks and weeks can become months between cleanings, which negatively impacts the health of your system and animals and makes cleaning and regular maintenance more of a chore.
Water Quality Testing and Tracking
 Regular testing of the water chemistry in your system is one of the most effective ways to keep your system and animals healthy and help you understand how important it is to perform regular, proactive maintenance. Unless you have a coral reef system, which has water quality concerns above and beyond regular freshwater or saltwater fish-only systems, API drip tests are easy, economical and almost always sold by your local fish store. Each test comes with a color card and simple instructions on how to perform each test properly. They also include little glass vials with lines that indicate how much to fill each vial for testing.
- Simply follow the instructions, wait the recommended period of time and compare the color of the vial to the color card to determine the value for each water quality parameter.
- Then, using a simple chart easily created in Excel or a similar spreadsheet application, record each value every time you test your water. This is enormously helpful for understanding how water chemistry works, how it affects the health of your system and animals and how the aquarium cleaning you perform (or not) positively or negatively affects these values. This only takes a few minutes and is very helpful to tracking trends over time.
Pro Tips
- We recommend water quality testing at least once a month. Once a week is even better, particularly if you have a coral reef tank or a tank with more sensitive animals like Discus fish.
- The quality of the water in your system has a direct impact of the health of your animals. Poor water quality will make them more susceptible to parasites and disease outbreaks and also affect their behavior. Sluggish, lethargic animals are much less interesting to observe, have poor color and posture and will likely have a poor food response.
- When you’re just getting started with testing, test your water just before and after doing a water change. You’ll gain insights into how often you should change your water, how much water you should change each time and how your efforts positively impact the health of your critters.
- Don’t overfeed your animals. Yes, it’s fun to watch them eat and compete for food but each bit of food you add to your system will have to be countered by cleaning, maintenance and water changes. Overfeeding also harms the health of your fishes, resulting in fatty liver disease, poor water quality and other undesirable results. Also, be very careful about whom you allow to feed your tank and how much they feed each time. Don’t fall for the “but they look hungry!” line. Think about it this way: you might be able to eat a whole pizza in one sitting but should you and how do you feel afterwards? Don’t overfeed your animals. ‘Nuff said.
Professional Aquarium Cleaning in the Portland Area
If you would like Aquarium Services of Oregon to do a little, some or all of the fish tank cleaning techniques we’ve described above, we’re very happy to do it. Regular maintenance is one of the many services we provide for our clients and how much or how little is entirely up to you. We’re also happy to explain in greater detail why it is so important to do this cleaning on a regular and ongoing basis. For more information on our aquarium cleaning and other services, please call us today at (503) 784-4403 or contact us here. Let’s create a healthy and dazzling display that looks great at all times!